A week and a half since Christmas already? Where did that go? While I hope to get a few more in-depth posts up about gifts and such, I thought I'd post some photos of the holiday season to hold you over until then.
About two weeks before Christmas, we made cookies. I found a recipe for gingerbread that did not use any eggs or dairy, and got some help from Colter to make them, along with peanut butter kiss cookies, snowballs, and a batch of egg- and dairy-free chocolate cookies.
The chocolate cookies were a big hit with E.
He was also pretty thrilled with the discovery that he could reach the bowl of clementines on top of the microwave by standing on the kitchen chair.
Colter helped make the fudge and was a willing volunteer for scraping out the peanut butter and marshmallow fluff jars. "Mommy," he says, "I'm a little sticky." No kidding.
Putting out cookies and milk for Santa, carrots for the reindeer, and per Colter's instructions, we had to leave some water out for the reindeer as well.
Christmas stories before bed on Christmas Eve; Colter pretty much has "The Night Before Christmas" memorized, we read it so many times.
The children all nestled snug in their beds, and the elves got busy putting everything under the tree.
Nope, Elliott's stocking did not get finished (where were the elves on that one?), so it got clothes-pinned on the front of a tote bag. It's so close! At least his name is on it.
C:
Why do I have to wait while you take a picture?
E:
A dog! A dog! A dog!
Elliott took right to his dog, while Colter's comment was, "I don't like that dog." No surprises there.
Oh, but Santa really delivered with the marble run.
Getting some help from Grammy with the new barn puzzle.
Christmas afternoon was all about the marble run. And yes, the boys stayed in their pajamas all day long.
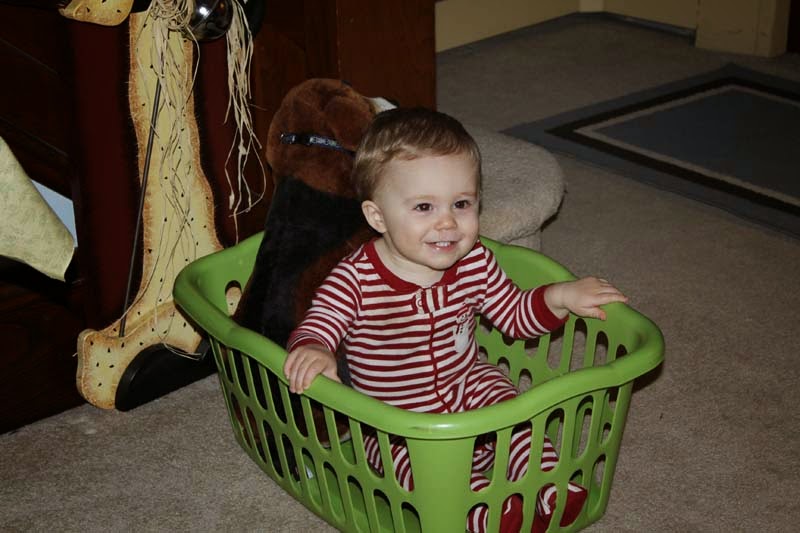
We found Elliott in the laundry basket with his dog, all of his own doing.
The cousins were so happy to see each other at the farm the next day. Oh, sweet potato, we do love your expressive little face! And Colter adores you.
Workin' man clothes and fantastic hats to boot!
Heaven forbid a mother wants a picture of her boys together.
The last shots of Colter's gingerbread house he and Keith put together, along with the abominable gingerbread man, before he gleefully smashed it. Where's the picture of that, huh?
In the week between Christmas and New Year's, I think we managed to see nearly every grandparent, parent, cousin, aunt, and uncle we have. It was a lot of running around and visiting packed into a couple of days, but it was wonderful to see everyone. I was really terrible about taking pictures. It gets harder and harder to take them with two kids and so much else going on. So we dive in, soak it up, take the pictures in our heads, and hope we can remember it.
So that's Christmas. All the decorations are put away and only a few gingerbread cookies are rattling around in the bottom of a tin, but the marble run still commands a place of honor on the dining room table. Now it's headlong into winter, and hopefully I'll get some projects (stocking included) done. Though Keith said the other day that soon it will be time to start thinking about the garden...